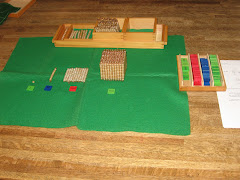
One of the reasons I have been blogging a lot less because I have been busy at work in the factory. Teaching is a lot of work no matter where or how you teach. Public school teachers spend countless hours grading assignments, we Montessori teachers spend countless hours making materials. And that’s just what I’ve been doing. Making materials.
Our classroom has quite a bit more to make because we are not yet well-established. We officially began transitioning our classroom towards Montessori just last year, so we have quite a ways to go. We began last school year with just some basic math materials and some random grammar materials. At the time I had just begun my Saturday trainings and so I was not aware of how to make materials, nor how to use most of them. We also had no math problem cards, no culture or science materials.
I am quite thankful to my instructors at Spring Valley Montessori, who whenever they introduced a new material always explained how it could be made, or showed how a near-substitute could be fashioned and used in place of the respective material. This is quite valuable for a teacher working with limited funding, and it’s also neat that most of the materials - be they Golden Beads, Fraction Insets, or the Stamp Game – can be made at home. While we all like nice, beautifully hand-crafted materials from Nienhuis (who doesn’t just love to gaze at their fabulous catalog?), it is nice to know that there is the option of making your own materials.
We have just started a new theme about Respiration and Circulation. I decided to make a definition book titled “How we Breathe”. A definition book has a very simple format so that it introduces new concepts to children in a simplified manner. The format is one picture on the page, with the part you are defining colored or outlined in red or another color. The definition of that part is provided below the drawing. For example, in my definition book, I colored each part of the respiratory system and then gave the definition. If you look below to the right, you will see the nasal cavity is colored in red, and below that the definition and description of the nasal cavity is given in writing.
Here are pictures of the definition book process: the synthesizing of complex information into a simple format.
 |  |
I also made other materials related to respiration, such as three-part cards on (a simplified version of) the formula for cellular respiration. While pink is for anatomy, I chose red for cellular respiration because it applies to zoology as well, which is red.
I have finished making these materials, but have yet to take the photos of them, so I will be posting the final products later on.


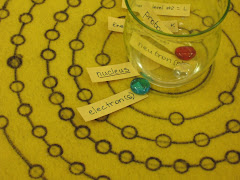
I am making my version of the Bohr model and saw the picture of your model. I'm curious to know what material you used. I was going to use foam board.
ReplyDeleteThanks!
Beth
Im curious of the materials you used too. I think its a good activity for the older age group!
ReplyDeleteIm Tr. Izzy, a new follower. Hope you'll be blogging back soon. Cheers!
wow this is great! I just read your profile and I cant believe you have transition to Montessori so well. Some people have such a hard time. I love your blog and I can really picture the struggles you are facing since I am facing those as well.
ReplyDeleteVanessa